It may seem a bit late in the year to writing about our new garden, but it is the best time to tell you about it and share the ups and downs, and the results of our efforts to grow our own food in 2020 here on the homestead.
We have been on the homestead for four years and have failed at our attempts to start a garden on the very poor ground. The clay muck has been difficult to learn how to make the best of it.
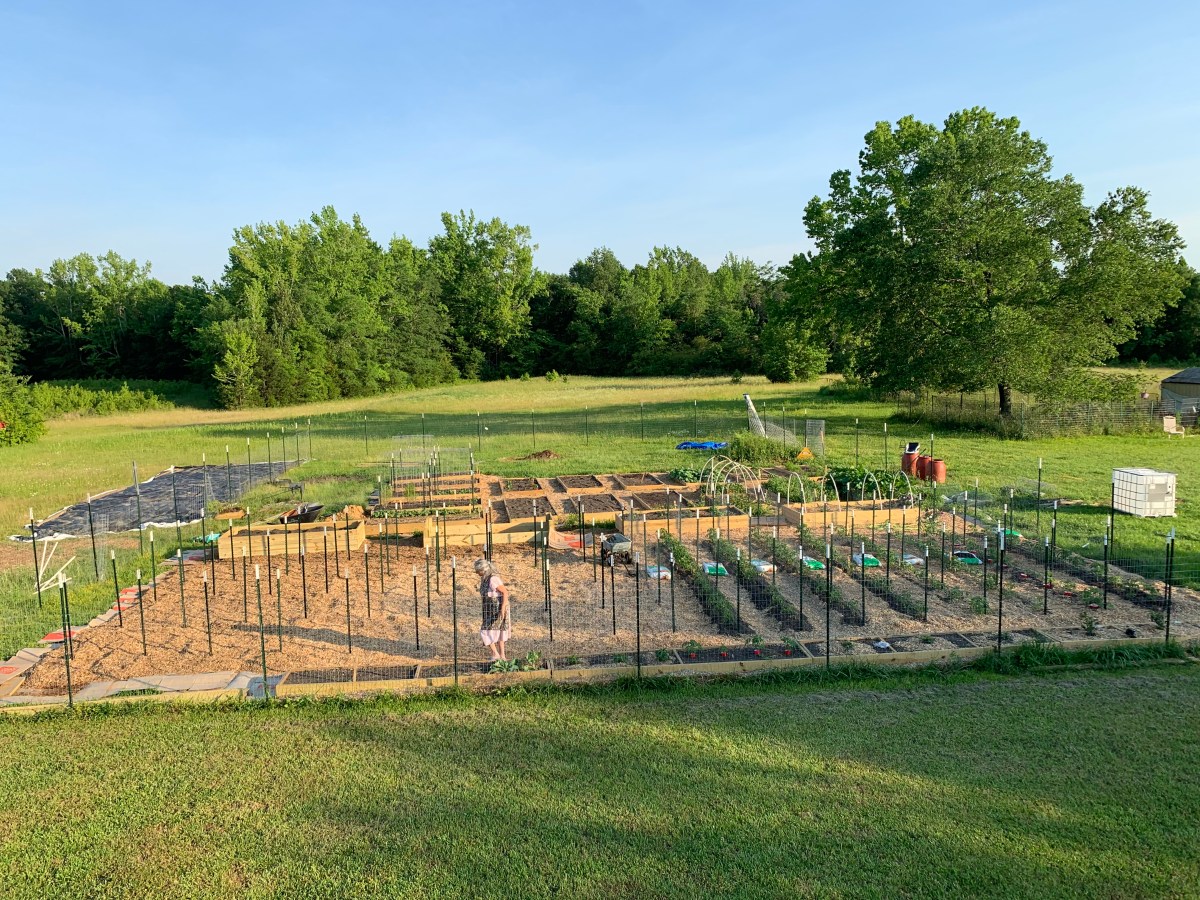
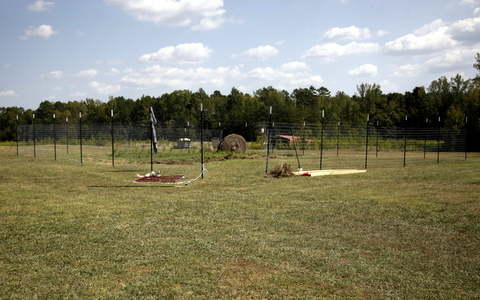
We began our work in February as soon as it was warm enough to work outdoors. We decided on the size and location and set to work putting up a fence both to keep deer and other critters out, and to help keep us with design and size of the garden.

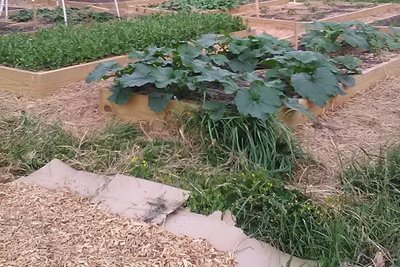
We next covered the entire area with cardboard topped with a 12″ layer of wood chips. The cardboard is used to block the light from reaching the weeds, and the thick mulch layer helps to kill the weeds and elevates the raised beds so they are well above the wet clay.
Following a heavy rainfall we can feel the wetness beneath the mulch as we walk, but the raised beds are not being drowned by it.
Gardening in the South has definitely been a learning curve. Trying to grow tomatoes with a shade cover is a complete waste of time and effort. The hot temperatures and strong sunlight is not beneficial to tomatoes and the fall planting seems to be doing much better now with the cooler temperatures.
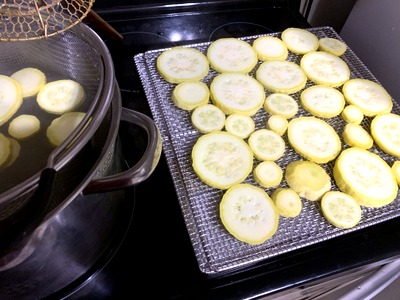
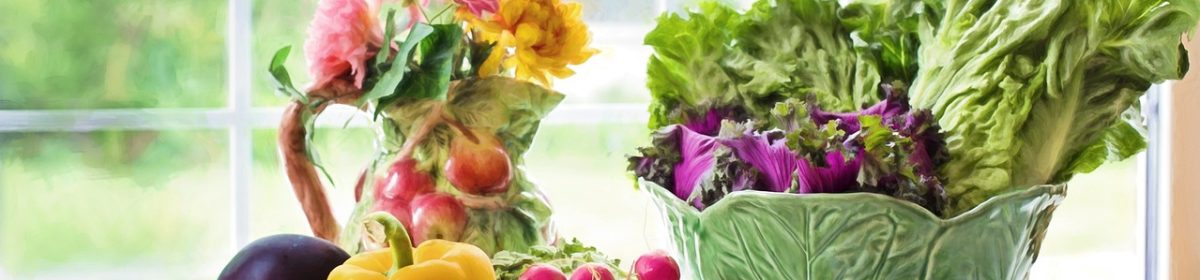
On the other hand, summer squash, peppers, cucumbers, and greens did well. As did my first ever sweet potato crop and strawberry plants.


Because there is no running water on the homestead we needed to get creative. Nick constructed a stand to support and elevate water barrels high enough to produce a good gravity fed water flow to the irrigation drip tapes.


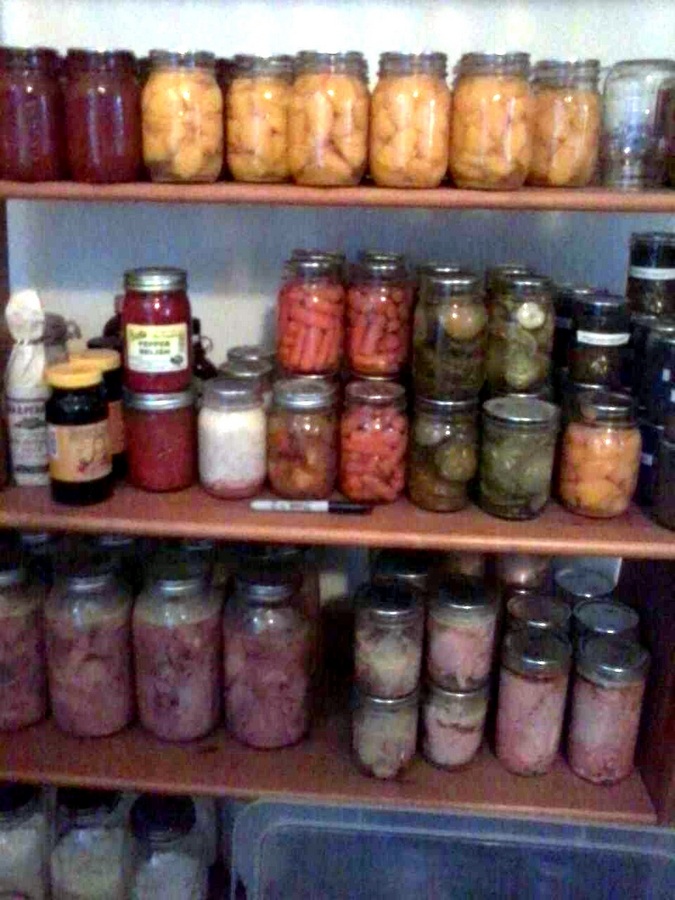
Some plants succumbed to insects or excessive heat, but I was able to harvest enough food to fill a few hundred canning jars. Harvest included over 400 pounds of cucumbers, zucchini, yellow summer squash, spinach, chard, peppers, sweet potatoes, carrots, beets, and rutabaga.
Currently green beans are now growing well, as well as a fall planting of tomatoes.
This first garden has also been costly because we needed to buy mulch and garden soil (we mixed equal parts of potting mix, peat, and manure as well as a mixture of top soil, sand and horse manure).
These were a one time expense, just as the lumber for the raised beds and the fencing are. Soon I will plant a cover crop to create green manure and build soil and by next season our home grown compost and chicken manure will be ready to add to the garden. We will also be expanding the irrigation system and adding more water barrels as well as a rainwater capture system.